

In this Staad Pro Tutorial, we are going to show you how to create a new analytical model in staad pro. various Options and its explanation and a demo staad analytical model creating process.
So please read the article till the end, and if this tutorial is helpful for you please tell us in comment section to upload more similar tutorials. Let’s start it,
Table of Contents
How to Create a New Analytical Model in Staad Pro
In staad pro, It is very easy to analyze any structural element by making it in the form of analytical model. A analytical model is basically finite element model of the structure which is process by the analysis and design engines of staad pro.
To create a new analytical model in staad pro, follow the steps as mentioned below.
1. Create New Model
After the opening of staad pro, you see the various option on the home window such as Open Model, New Model, Archive Model, Share, Help, Licence and Configure option.
Click on the New Option to Create New model.
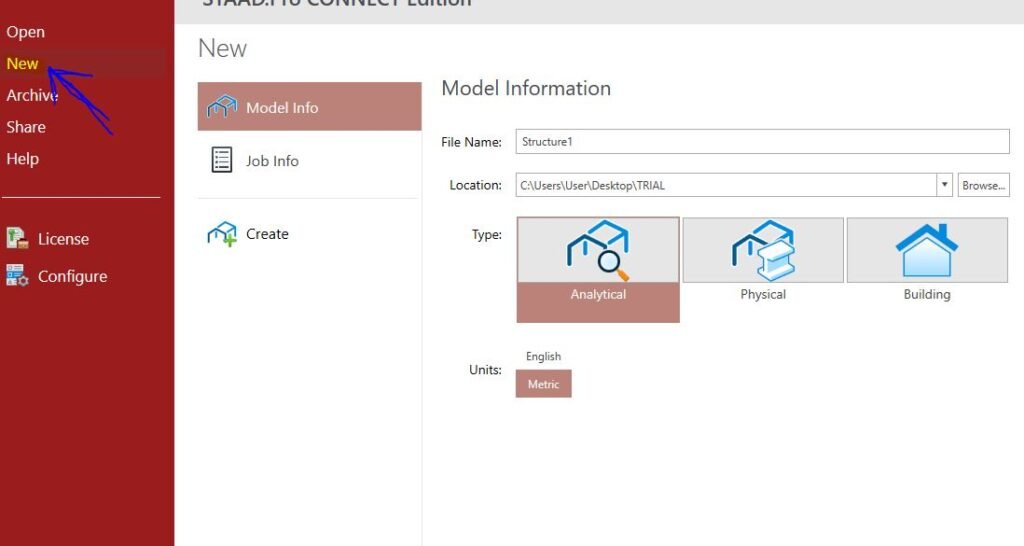
After clicking new option, You can see the all basic information related to your model such as Model Name, File Location, Type of Model, Units, etc. In Type of model you set the analytical and in Units set Metric (As per You).
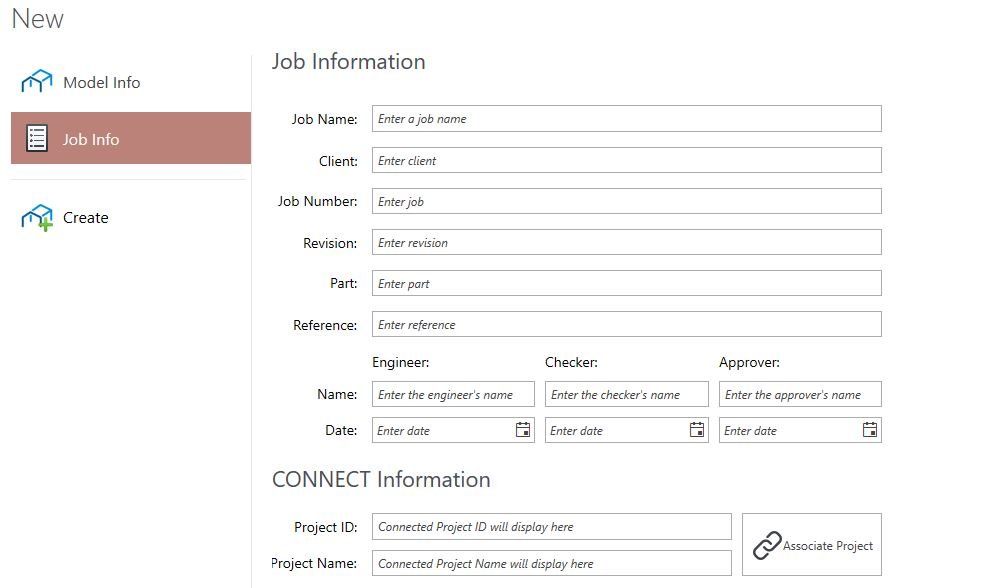
Then go to the next option that is Job information in which you need to fill the all details regarding you jobs such tha Job Name, Client, Job Number, Revision, Part, Reference, Engineer Name Checker Name, Approver Name, dates, Projects ID, Projects Name, Etc. This is not a mandatory option.
Also Read: Different Types of Load on Building
Then after click on the Crate Tab to Create New Analytical Model in staad pro. After the Clicking, a new window will come as shown in below image.
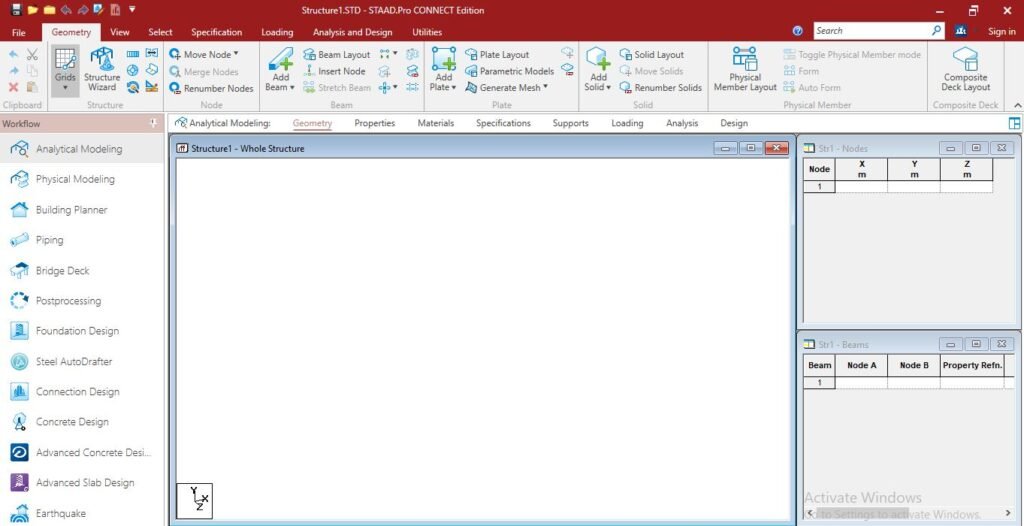
Now the Work space is opened in staad pro as shown in above image. Here you model any structural analytical model by the help of Nodes, Liner Members, Plate Members etc.
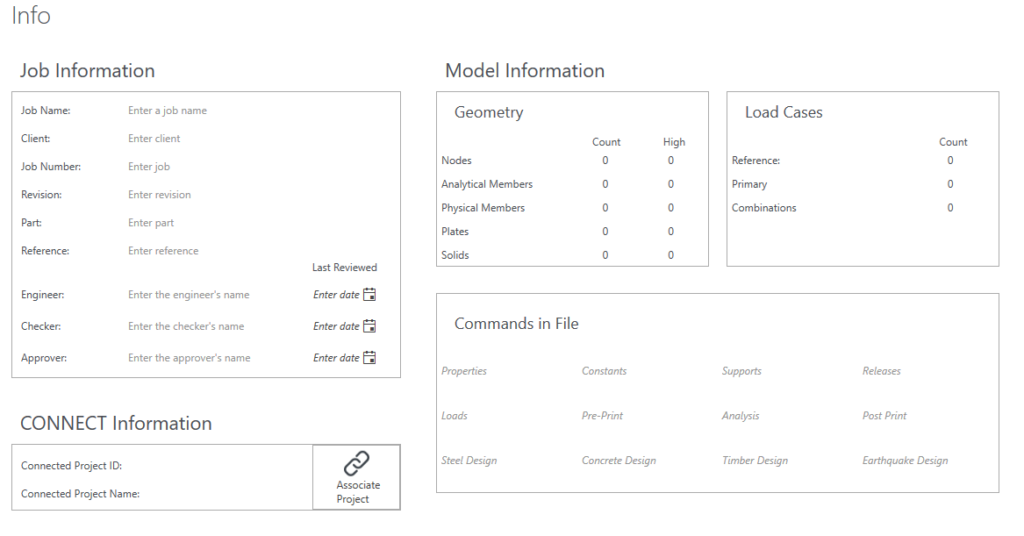
And again you can see the all details of your model, job and project by clicking on the File Tab Option in staad pro.
Also Read: What is Flexural Strength of Concrete
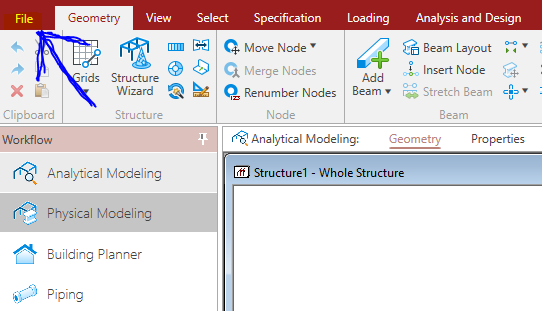
After clicking on the File tab, you see the new window in staad pro as shown in below image which includes all details of your project.
So, this is staad pro tutorial part 2 in which we learn how to create new analytical model in staad pro with all option and its explanation. In the next Tutorial we are goining to learn all details about Geometry Tools.
So Please follow us on various social platform to be updated related this series. And if you like this then please share with your friends or if you have any doubt, Please Fill Free to ask in Comment Section.
Also Read: Staad Pro Configure Settings and | Staad Pro Tutorial – 1

I am a Professional Civil & Structural Engineer having more than 4 years of experience in Engineering, Procurement and Construction industry. Here i sharing the latest updates of EPC Projects and Construction News.